
How to Install a ProKure D Trifold: Step-by-Step Guide for Cultivation Facilities
You are standing in a flower room with a foil packet, a plastic trifold, two stickers, and one question: what do I do with this and where does it hang. Here is the whole job in three steps. Tear the foil packet and remove the white inner pouch, keeping it sealed. Assemble the trifold, seat the sponges and the pouch in the tray, and snap it closed. Hang it 18 to 24 inches above the plant canopy. Once it is hung, ProKure D provides ClO2 protection for up to 30 days, and it runs with plants in the room, so no one has to leave. The steps below add the pre-install checklist and the EPA context the product page skips.
What ProKure D is and what the trifold does
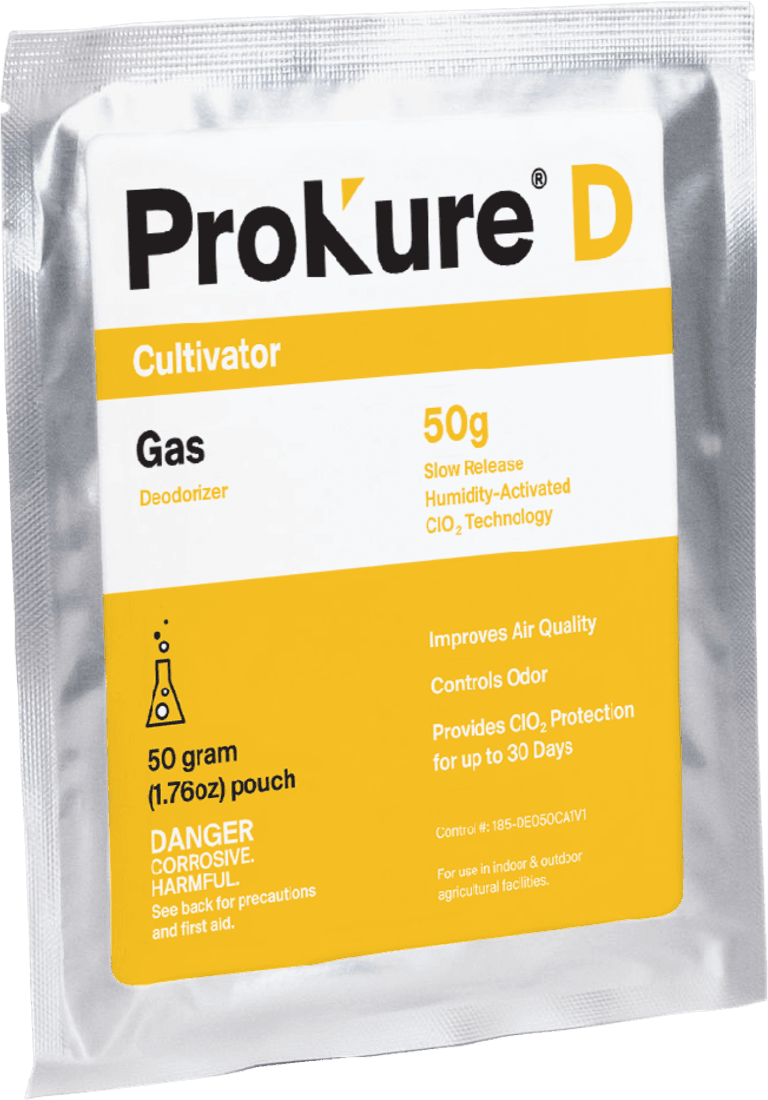
ProKure D is a slow-release gas that improves air quality and controls odors. It provides ClO2 protection for up to 30 days per pouch, and it is humidity-activated: the sponge-and-pouch system releases low levels of ClO2 as ambient moisture triggers it, which is what spreads the protection across the 30-day window instead of dumping it all at once. The trifold is the housing that holds the pouch over the canopy and is reusable for future treatments.
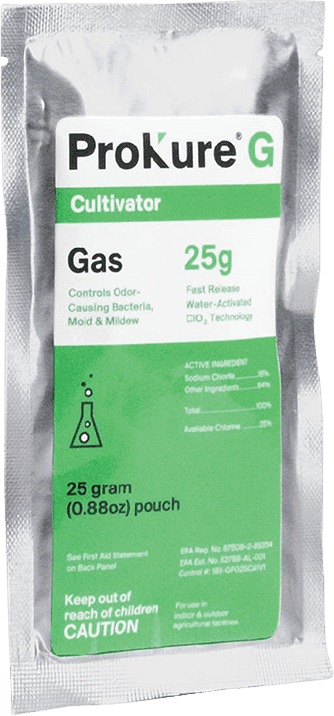
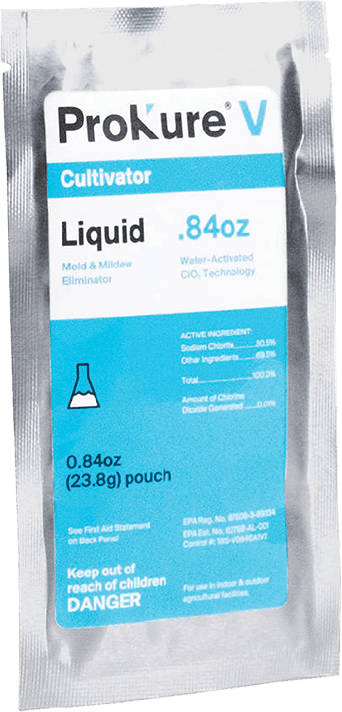
Say the EPA status out loud before you install, because it changes what the product is for. The label language is verbatim: Not an EPA-registered product and not labeled for sale as a pesticide under 40 CFR. Always read product labels before use. In plain terms, ProKure D is an air-quality and odor product. It is not a disinfectant, it carries no kill claim, and you should not describe it in a facility SOP as a fungicide or log it in a state compliance system as a pesticide application. If you need to kill pathogens on a surface, that is ProKure V, the EPA-registered liquid disinfectant. If you need a fast knockdown in an empty room, that is ProKure G, the fast-release gas that carries its own restriction, Not for use with/on plants/crops/feed. Install D for what it does, which is hold air quality across the grow with plants in the room.
Before you tear the packet: the pre-install checklist
The manufacturer's own steps assume you are already standing in the right room with the right supplies. Their instructions read, verbatim, "These instructions are specific to the product shown below. Always read your product label before activating any ProKure products," and then they start at the foil packet. Two of the items below are easy to get wrong once the packet is open, so handle them first.
Confirm the SKU matches the room. Coverage maps to three pouch sizes: the 10g treats about 1,000 cubic feet, the 50g about 4,000 cubic feet, and the 95g about 8,000 cubic feet. Measure length times width times height in feet, multiply for cubic feet, and pick the pouch that covers it. A room over 8,000 cubic feet needs more than one pouch. Sort this before activation, because a humidity-activated pouch starts running whether or not it is the right size for the space.
Confirm the room is in its normal operating humidity range, since the pouch is humidity-activated and emission tracks moisture in the air. Confirm you have an 18-to-24-inch clearance above the tallest plant for the hang. Then gather the hardware: the reusable trifold, the sponges, the time sticker and color sticker that come with the product, a marker, and a ladder or hang point.
Step by step: assemble and hang
The steps below are the manufacturer's own, in order. Plants and crew can stay in the room throughout, because ProKure D runs with plants in the room.
Step 1: Open the foil, keep the inner pouch sealed
Tear open the foil packet and remove the white inner pouch. Do not open the white inner pouch. The inner pouch is the ClO2 generator, and the sponge-and-trifold system is what paces its slow, humidity-driven release across 30 days. Opening the inner pouch dumps the ClO2 too fast and defeats the curve, which is why it is the single most common install mistake.
Step 2: Sticker, assemble, and seat the pouch
Place a time sticker and a color sticker on the outside of the trifold. Write the install date on the time sticker, because that is your dated 30-day countdown and your audit record; the color sticker lets a multi-room facility tell at a glance which room a trifold belongs to. Assemble the trifold by folding the flaps above the tray and pressing the button snaps securely together. Place the sponges in the recessed area of the tray, then set the white inner pouch on top of the raised area of the tray. The trifold is reusable for future ProKure D treatments, so this housing is a one-time setup and later cycles are just a pouch swap.
Step 3: Hang 18 to 24 inches above the canopy
Use the trifold punch holes to hang it 18 to 24 inches above the plant canopy. ClO2 gas is heavier than air, so a high hang lets the gas settle down through the canopy. Pick a central spot, keep it out of the direct pull of an HVAC return that would draw the gas out of the room, and keep it clear of lights and off walkways where a knocked trifold becomes a floor hazard. As the canopy stretches through the grow, raise the trifold to stay in the 18-to-24-inch band. That is the install. From here it provides up to 30 days of ClO2 protection.
Where to hang in different room types, and how many
The 18-to-24-inch rule is written for a flower or veg room with a defined canopy, and it needs translating for other rooms.
In a flower or veg room, measure to the top of the canopy, not the floor, and raise the trifold as the plants grow. Count pouches by volume: a 4,000 cubic-foot room is one 50g, an 8,000 cubic-foot room is one 95g or two 50g spaced evenly, and a larger room is more pouches distributed across the space rather than clustered in one corner.
In a mother room, treat the tallest plants as the canopy and hang above them. In a drying or cure room there is no growing canopy, so hang the trifold at a high, central point in the room where the air circulates, clear of hanging plants or jarred flower. The principle is constant across every room: high placement, central, even coverage, out of the direct HVAC draw.
The 30-day cycle and your audit trail
The product page ends at "That's it! You're ready to go." For a facility that answers to a compliance auditor, the install is not done at that line, because nothing has been recorded. The dated time sticker from Step 2 is what turns a hung pouch into a documented step.
Watch three checkpoints. In the first 24 to 48 hours you should notice the odor signal easing as the ClO2 builds. Around day 14 or 15, glance at the color and time stickers so a mid-cycle check is on the calendar. At day 30, swap in a fresh pouch at or before the mark to keep coverage continuous, reusing the same trifold. Pair each sticker with the SKU and the room in your log, and that record is exactly what a head grower standardizing across rooms or a QA lead keeping a binder hands an inspector. For the full cadence and reorder triggers, the air quality management guide covers the replacement schedule.
Care for the reusable trifold between cycles: wipe the tray clean, store it dry and out of direct sunlight, and replace the trifold body if it cracks or the snaps stop holding. Handle a spent pouch per the product label and SDS, and never open the inner pouch even when it is spent.
Common install-day mistakes, SKU traps, and the three-product system
Four mistakes catch first-time installers. Opening the white inner pouch: if you do, do not use it, handle it per the label, and start fresh. Wrong SKU for the room: an activated pouch undersized for the volume will not cover the space, so size before you activate. Hanging below the canopy or over a walkway: keep it high, central, and clear. And the reorder trap below.
The SKU trap is worth naming because it costs money. ProKure D ships two ways. The standard SKU includes the reusable trifold; for example the 50g standard packet (item 185-DE050C) lists at $42.60. The CNC SKU is the packet with no trifold, for buyers who already own the reusable housing; the 50g no-trifold (item 185-DE050CNC) lists at $40.80 and the 95g no-trifold (item 185-DE095CNC) at $68.00. Order CNC only if your trifolds are still in service. Order CNC with no trifold on hand and you have a pouch and nowhere to hang it.
Surfaces and air are separate jobs, so D is one layer of a three-product system. ProKure V is the EPA-registered liquid for hard-surface disinfection, suitable for use with plants in the room. ProKure G is the fast-release gas for an empty-room reset between harvests, Not for use with/on plants/crops/feed. ProKure D, the slow-release gas you are installing, holds air quality across the cycle with plants present. For how V, G, and D divide the work across a turnover, the mold prevention protocols guide walks the full sequence. Educate here, reorder on shop.groclarity.com, and pull the label, SDS, and EPA reference from prokuresolutions.com for your compliance file.
Frequently asked questions
The questions below are the ones first-time installers and the techs writing the SOP ask on install day.
Related resources