
Cannabis Flower Stage Mold Prevention SOP: A Week-by-Week Protocol
You came here for a flower stage mold prevention SOP, and most of what ranks for this query is not one. A cannabis flower stage mold prevention SOP is a dated, week-by-week standard operating procedure that keeps botrytis (bud rot) and late-stage powdery mildew off living plants from Day 1 of 12/12 through the day you cut. It fixes RH and VPD targets for each flower week, sets a canopy inspection cadence, specifies adjacent-surface sanitation, schedules a ProKure D slow-release ClO2 air phase hung above the canopy, and logs every step so the record maps to passing state yeast and mold testing. This page is the document, not a tip list.
Who this SOP is for, and who it is not
You run a flower room and you want one controlled procedure your crew can follow every cycle. That is the reader this page is written for: the head grower protecting a six-figure canopy, the facility manager scheduling room tasks, the cultivation director standardizing across four to fifteen facilities, and the QA lead who has to defend the record at audit.
If you landed here for a different job, go to the right page before you read further. Prepping an empty room before the flip belongs to the room turnover SOP. Already seeing white dust on fan leaves means you are past prevention and into the powdery mildew IPM protocol, a reactive path. Questions about hang, dry room, and cure jars belong to dry-cure mold prevention. And if your real question is whether you will clear your state threshold at harvest, that is the yeast and mold testing thresholds reference. This document stays scoped to the living-plant flower weeks on purpose.
One honest note on sourcing. The page that ranks first for this exact query is a horticulture air-filtration vendor. Its own guidance concedes thatBecause treatment is often ineffective after infection begins, growers have to prevent rather than cure. We agree with that framing, and we build the whole cadence around it. The difference is that the incumbent stops at a five-bullet action plan. This is the dated procedure that bullet list implies but never delivers.
What you are actually preventing at flower
Flower-stage mold is two different failure modes, and treating them as one category is why generic advice misses.
Botrytis cinerea, the gray mold behind bud rot, starts inside the bud where you cannot see it. Dense colas trap humidity in the interior, and the pathogen fires when canopy RH spikes, most often at lights-off when the room cools and dewpoint climbs. By the time a brown, mushy core shows on the outside, the cola is already lost and the spores have seeded neighbors. Bulk weeks, roughly Week 5 through Week 7, carry the highest interior-RH risk because the buds are densest and transpiration is heaviest.
Late-stage powdery mildew is the surface mode. It lands on leaf and sugar-leaf surfaces as a white film and spreads on air currents through the canopy. Standard horticulture guidance for this mode is thin and HVAC-centric: the common prescription is simply toKeep relative humidity below 50%and run filtration, with a daily-inspection instruction aimed at the wrong lifecycle stage. The incumbent literally tells growers toInspect plants daily during vegetative growth, which leaves the flower weeks, the window where interior bud rot actually sets, without a daily-check instruction at all. That omission is the first thing this SOP corrects: inspection cadence tightens as you move deeper into flower, not looser.
Veg-stage risk and flower-stage risk are not the same problem. In veg you are managing open, airy plants and surface spores. In flower you are managing a closing canopy, a rising interior dewpoint, and a crop whose value climbs every week, which is exactly why the prevention cadence has to climb with it.
Environmental targets for the flower window
Set the room, then hold it. These ranges are category norms for indoor cannabis flower and should be confirmed against your own strain performance and your state regulator's humidity expectations; treat them as a starting envelope, not a guarantee.
Relative humidity descends through the cycle. Weeks 1 to 3 (stretch) run roughly 55 to 60% RH while plants transpire heavily and interior density is still low. Weeks 4 to 6 (bud set and early bulk) tighten to about 50 to 55%. Weeks 7 to cut (ripen and finish) drop to roughly 45 to 50%, and the last ten days are where you push toward the low end to starve interior botrytis.
VPD tracks alongside RH, generally 1.0 to 1.2 kPa early and 1.2 to 1.5 kPa late as you dry the room down. The number that matters more than any single setpoint is the lights-off swing. When the lamps cut, leaf-surface temperature drops faster than air temperature, and the microclimate inside a dense cola can hit dewpoint even when the room sensor reads a safe RH. Stage your dehumidification to anticipate the lights-off cooldown rather than chase it, and position airflow to move air through the canopy interior, not just across the top. Oscillating movement under the canopy breaks the still, humid pockets where bud rot incubates.
Airflow and canopy penetration deserve their own setpoint discipline. A room can show perfect averages at the sensor and still grow mold three inches inside a cola because the air that the dehumidifier conditioned never reached that pocket. Plant spacing early in the cycle buys you that penetration later: when the stretch stops and the canopy closes, the lanes you left open are the only way conditioned air moves through the interior. Thin the understory of larf and dead leaf tissue that holds moisture, keep clip-on and oscillating fans low enough to work under the colas rather than skimming the tops, and verify penetration by feeling for airflow at bud height, not canopy height. This is also where sensor placement matters. Mount at least one RH probe at canopy depth, not on the wall, so the number you are regulating against is the number the buds actually experience.
The week-by-week SOP
This is the controlled cadence. Run it as written, log every line, and escalate the moment an inspection trips a trigger.
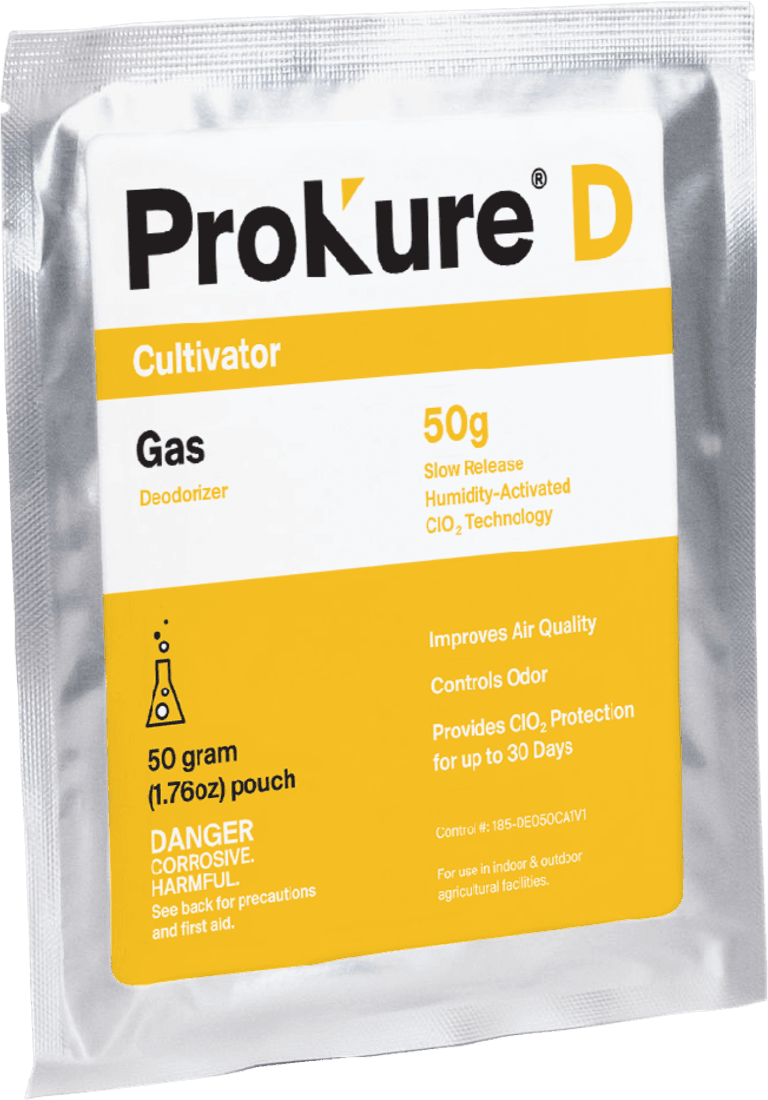
Weeks 1 to 2, stretch. Target 55 to 60% RH. Inspect canopy every 48 hours. Begin the ProKure D air phase: hang slow-release pouches and trifolds 18 to 24 inches above the canopy per the product directions. ProKure D is a slow-release gas that, in the manufacturer's approved language, "Provides ClO2 protection for up to 30 days" and "Improves air quality and controls odors." It runs with plants in the room because it is an air-quality product, not a sprayed pesticide.
Weeks 3 to 4, bud set. Target 50 to 55% RH. Inspect every 48 hours and begin spot-checking interior cola density. Perform light defoliation to open airflow lanes through the canopy, and sanitize shears between plants. Replace each ProKure D pouch before its up-to-30-day window closes so air-phase ClO2 does not lapse.
Weeks 5 to 6, bulk, the highest botrytis-risk window. Target 50 to 55% RH, trending down. Move canopy inspection to daily, and open representative colas to check interior moisture and early browning. This is the week the generic guidance forgets, so it is the week your SOP works hardest.
Weeks 7 to 8, ripen. Target 45 to 50% RH. Reduce defoliation to avoid plant stress, keep daily inspection, and maintain the ProKure D air phase through final applications. Begin descending RH toward the finish envelope.
Weeks 9 to 10, finish and pre-cut. Hold 45 to 50% RH, push the last ten days toward the low end. Daily inspection, final canopy walk, and hand off to the dry-room SOP for the post-cut phase. Record the last ProKure D replacement date on the log.
The ProKure D protocol inside the SOP
Here is where most content either goes silent or gets the compliance wrong, so read the product boundaries carefully.
ProKure D is a slow-release chlorine dioxide (ClO2) gas delivered from a water-activated pouch. In plain terms, it treats the air around the plants rather than coating the plants, which is why it can run during flower with the canopy in place. Its approved claim set is narrow and we hold to it verbatim: it "Improves air quality and controls odors" and "Provides ClO2 protection for up to 30 days." It is not a disinfectant and it carries no kill claim, so this SOP never asks ProKure D to sanitize a surface or to stand in for a registered pesticide.
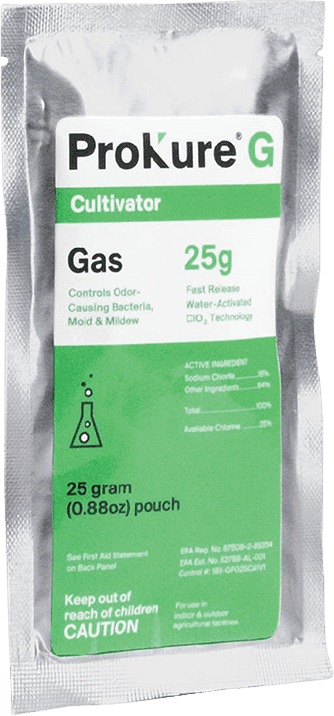
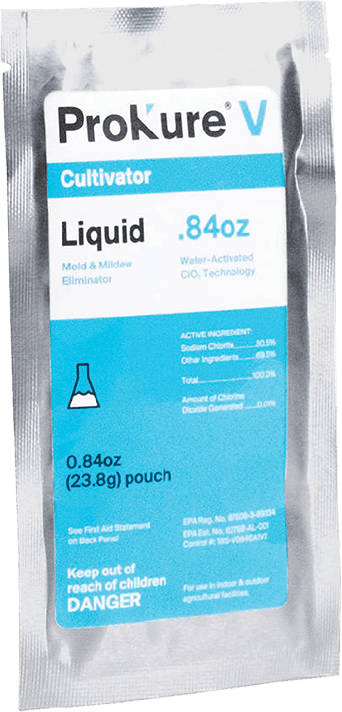
The registration status is the line you cannot blur. ProKure D is "Not an EPA-registered product and not labeled for sale as a pesticide under 40 CFR." Build that into the procedure, not a footnote: ProKure D handles the plants-present air phase, and any surface disinfection is a separate, matched product. For surfaces you use ProKure V, a water-activated liquid Hospital-Type Disinfectant (EPA Reg. No. 87508-3-89334) that leaves no residue and is "Suitable for use with plants in the room." For a fast between-cycle air reset in an empty room you use ProKure G (EPA Reg. No. 87508-2-89334), which "Works in 4-6 hours" and carries the disclaimer "Not for use with/on plants/crops/feed." Keep those three matched to their jobs and the composition rule takes care of itself.
Crew safety and re-entry follow the product label. ClO2 gas is dangerous at high concentration, so re-entry timing, ventilation, and applicator handling run strictly per the ProKure D label and SDS. Confirm current intervals on the product label at prokuresolutions.com before you write a room-specific re-entry window into your copy of this SOP. See product label for specific instructions and claims.
Sanitation, documentation, and the audit trail
A flower-room SOP is only as good as the surfaces around the plants and the record you keep.
Sanitation of adjacent surfaces runs parallel to the air phase. Use ProKure V on hard, non-porous perimeters, benches, and tool surfaces because it leaves no residue and can be used with plants in the room. Wipe shears, trellis clips, and gloves between rows to keep surface spores from riding the canopy. Keep HVAC returns and dehumidifier condensate pans clean, since standing condensate is a reservoir that reseeds the room no matter how tight your RH curve looks on paper.
The sequence matters as much as the products. Surfaces get the liquid disinfectant, the plants-present air gets the slow-release gas, and the two jobs never swap. A grower who reaches for the wrong product at the wrong moment is the failure mode the matched-SKU rule exists to prevent, and it is the reason this SOP names the product for each task instead of saying "sanitize." When you turn a room between cycles with the plants gone, the fast air reset is a separate step on the room turnover SOP, not something you run with a live canopy.
The documentation is what turns this from a habit into a defensible procedure. The incumbent guidance reduces this to one vague instruction,Keep detailed records of conditions, issues, and interventions, and never says what to capture. This SOP specifies it. Log, per room per entry: date, room ID, measured RH, VPD, ProKure D hang date and replacement date, lot number, applicator initials, and inspection result. That is the exact record a compliance auditor asks for alongside the SDS and product label, and it is the record that lets a multi-state operator standardize one controlled document across every facility with a version number, a revision date, and an author.
Prevention is the number that ownership understands. A single failed pre-sale yeast and mold test can forfeit a mature, six-figure crop, which is why the head grower treats cost as secondary to crop value. The cadence above is how you aim at passing your state's TYM threshold at harvest rather than discovering the problem on the lab report. Thresholds vary by state, so confirm your specific limit with the state regulator and the yeast and mold testing thresholds reference before you rely on a number. When an inspection trips a trigger, stop running the prevention SOP and move to the powdery mildew IPM protocol, the reactive path built for confirmed pressure.
FAQ
The questions growers ask most about flower-stage mold, answered against this SOP.
Related resources