
How to Build a Cannabis IPM Program: A Step-by-Step Guide for Cultivators
Build a cannabis IPM program in five layers that reinforce each other: monitoring and scouting to catch problems early, cultural and preventive controls to deny pests and mold a foothold, environmental biosecurity to disinfect surfaces and hold air quality, targeted intervention when a threshold is crossed, and documentation that proves the whole program ran. Integrated pest management is not a product you spray; it is a system that keeps pressure low so you rarely have to react. Start with measurement, close the weakest layer first, and tie every step to a record your state auditor and your own next harvest can both read.
What IPM actually means in a cannabis facility
Integrated pest management is a decision framework, not a shopping list. The core idea is to stack controls so that monitoring catches a problem while it is small, prevention keeps most problems from starting, and intervention is the last resort rather than the daily habit. In a cannabis grow, the stakes are specific: a pest or mold problem that reaches the flower becomes a yield loss and, at a pre-sale yeast-and-mold test, a compliance event on a crop worth six figures.
The frame that runs through a good program is upstream thinking: treat the environment around the plants rather than the plants themselves. The fewer things you have to apply to a live crop, the better, because direct application carries both phytotoxicity risk and compliance risk. A strong IPM program spends most of its effort on the room, the air, and the workflow, so the plant is protected by its surroundings rather than rescued by a last-minute treatment.
One honest starting point: you cannot manage what you do not measure. A facility with no scouting logs, no canopy humidity readings, and no sanitation records does not yet have an IPM program; it has good intentions. The first build step is always measurement.
Layer one: monitoring and scouting
Monitoring is the layer that makes every other layer possible, because it tells you where pressure is building before it becomes a loss.
Set a scouting routine: a scheduled walk of every room on a fixed cadence, looking for early signs of pests and disease, with the findings logged by room and date rather than kept in a grower's head. Use the tools that make pressure visible, from sticky cards for flying pests to canopy-level humidity and temperature readings that reveal the conditions mold favors. The point is a trend line, not a single snapshot, so you can see a problem climbing and act while it is cheap to fix.
Monitoring feeds the thresholds that drive the rest of the program. When scouting shows pressure rising toward a limit, the program escalates; when it is quiet, you hold the preventive routine. A program without monitoring is just a fixed schedule that cannot adapt, which is how small problems become failed harvests.
Layer two: cultural and preventive controls
Cultural controls are the cheapest layer because they stop problems from starting, and they are where a disciplined facility wins.
This layer is about denying pests and mold the conditions they need. Hold humidity in stage-specific bands measured at the canopy, especially during late flower, dry, and cure, when a wet canopy or a slow dry gives mold its opening. Keep air moving so no corner sits stagnant. Control the vectors that carry contamination through the door: crew shoes and clothing, tools moved between rooms, and incoming genetics that should be tissue-tested and quarantined before they join the canopy. Start clean plant material, and keep the workflow routed from clean areas to dirty ones rather than the reverse.
None of this layer is a product; it is discipline encoded in an SOP. But it is the layer that determines how often the later layers have to fire. A facility with tight cultural controls rarely reaches for an intervention, which is the whole goal of IPM.
Layer three: environmental biosecurity
Environmental biosecurity is the sanitation layer that resets surfaces and air between and during cycles, and it is where a documented chemistry program fits.
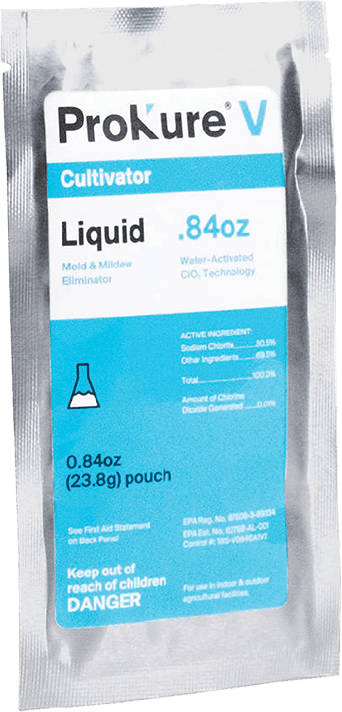
Surfaces first. At teardown, disinfect every hard, non-porous surface a crew or crop touches, benches, trays, grow beds, and tools, with a residue-free disinfectant. ProKure V is an EPA-registered liquid hospital-type disinfectant (EPA Reg. No. 87508-3-89334) used at 100 ppm with a 10-minute contact time; it leaves no residue and is suitable for use with plants in the room because it goes on surfaces, not the plant. That combination is what lets surface work happen near a live crop, which bleach and quats cannot offer.
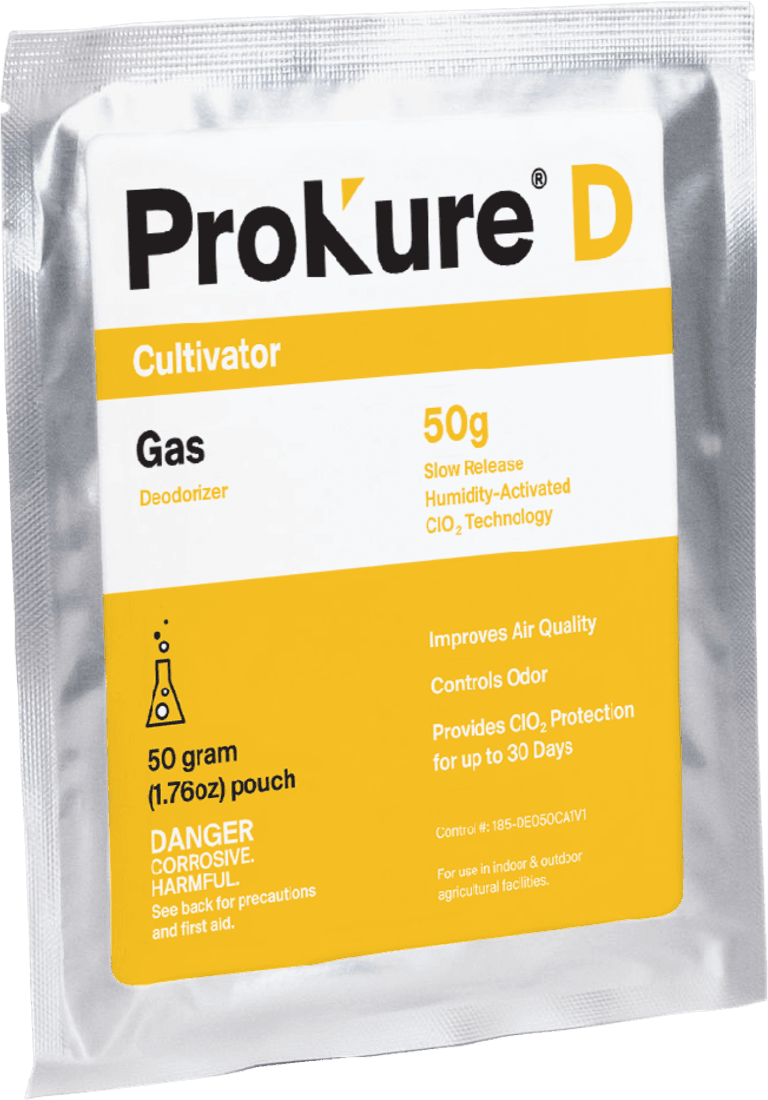
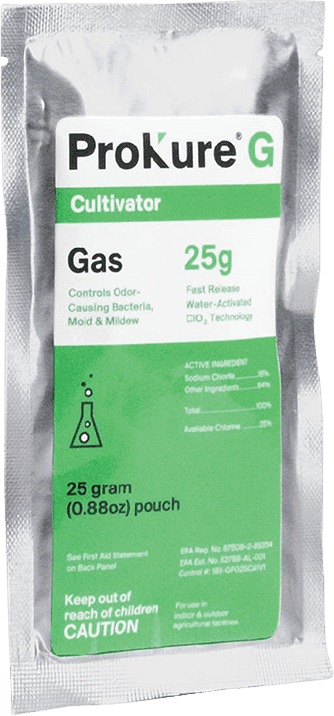
Air next, in two modes. Between harvests, in an empty room, the fast-release gas ProKure G (EPA Reg. No. 87508-2-89334) resets the air in 4 to 6 hours; its label is clear it is not for use with or on plants, crops, or feed, so it is an empty-room tool. During the cycle, the slow-release gas ProKure D holds air quality and controls odors for up to 30 days with the crop present and makes no kill claim. V disinfects surfaces, G resets the empty room, D holds the air. Our air quality management approach covers the ongoing layer in depth.
The discipline here is keeping each product in its lane, because that is both the compliance point and the performance point. The biosecurity layer is what lowers the mold and pathogen load that a pre-sale test ultimately measures.
Layer four: targeted intervention and thresholds
Intervention is the layer IPM tries to use least, and the program decides when it fires by threshold, not by calendar.
Define action thresholds up front for the pressures your monitoring tracks, so a decision to intervene is a response to data, not a panic. When scouting shows a pest or disease crossing a threshold, the program escalates to a targeted response aimed at the specific problem and the specific zone, rather than blanketing the whole facility. The goal is the smallest effective action, placed where the data points.
Two boundaries keep intervention compliant. Keep product claims in their lanes, the surface disinfectant's kill claims are for surfaces, the empty-room gas is for empty rooms, and the slow-release gas makes no kill claim. And never borrow a treatment for a job its label does not cover; if the problem is active mold on plant tissue, that is a disinfection and IPM-protocol problem, not a job for an air product. When intervention becomes frequent, the real fix is upstream, in the cultural and biosecurity layers that let the pressure build.
Layer five: documentation and continuous improvement
Documentation is the layer that turns four good layers into a defensible, improvable program, and it is the one facilities most often skip.
Keep the record as a byproduct of the work: scouting logs by room and date, canopy humidity and air readings, per-turn surface-sanitation logs with product and contact time, gas activation and replacement dates, and the quarantine and tissue-test results for incoming material. Tie the file to the EPA registrations for ProKure V and G and keep the labels and SDS on hand. A state pre-sale review wants this evidence, and a verbal assurance that the room was clean is not evidence.
The second job of documentation is improvement. A program you measure is a program you can tune: the logs show which layer is leaking before a lab does, so you close the weakest link each cycle instead of repeating the same failure. For a multi-facility operator, one standardized IPM program and log set, run the same way in every state, is how a lesson from one room reaches all of them. Our mold prevention protocols page walks the logging routine, and our multi-state cannabis operator resources cover standardizing across a footprint.
Putting the program together
Sequence the build in the order the layers depend on each other. Start with monitoring, because nothing else adapts without it. Add cultural controls, because they cut how often you intervene. Build the biosecurity layer with ProKure V for surfaces, G for empty-room resets, and D for ongoing air. Define intervention thresholds so action follows data. And document everything, so the program is both defensible and improvable.
Score your current state honestly across the five layers and close the weakest first, because most failures are an accumulation of small, unmeasured misses rather than one dramatic event. When you are ready to build the biosecurity layer, buy the ProKure line on shop.groclarity.com, pull each product's label and SDS from prokuresolutions.com for your audit file, and route a facility-specific or multi-site IPM build to a GroClarity specialist through the contact form.
This guidance is general and is not legal advice; confirm your state's pest-management and pre-sale yeast-and-mold rules with your state regulatory agency. See product label for specific instructions and claims.
Related resources